Hello everyone,
The new Colour Challenge has just been released over at ScrapFriends. Hope you like it and inspires you to create.
Here it is:
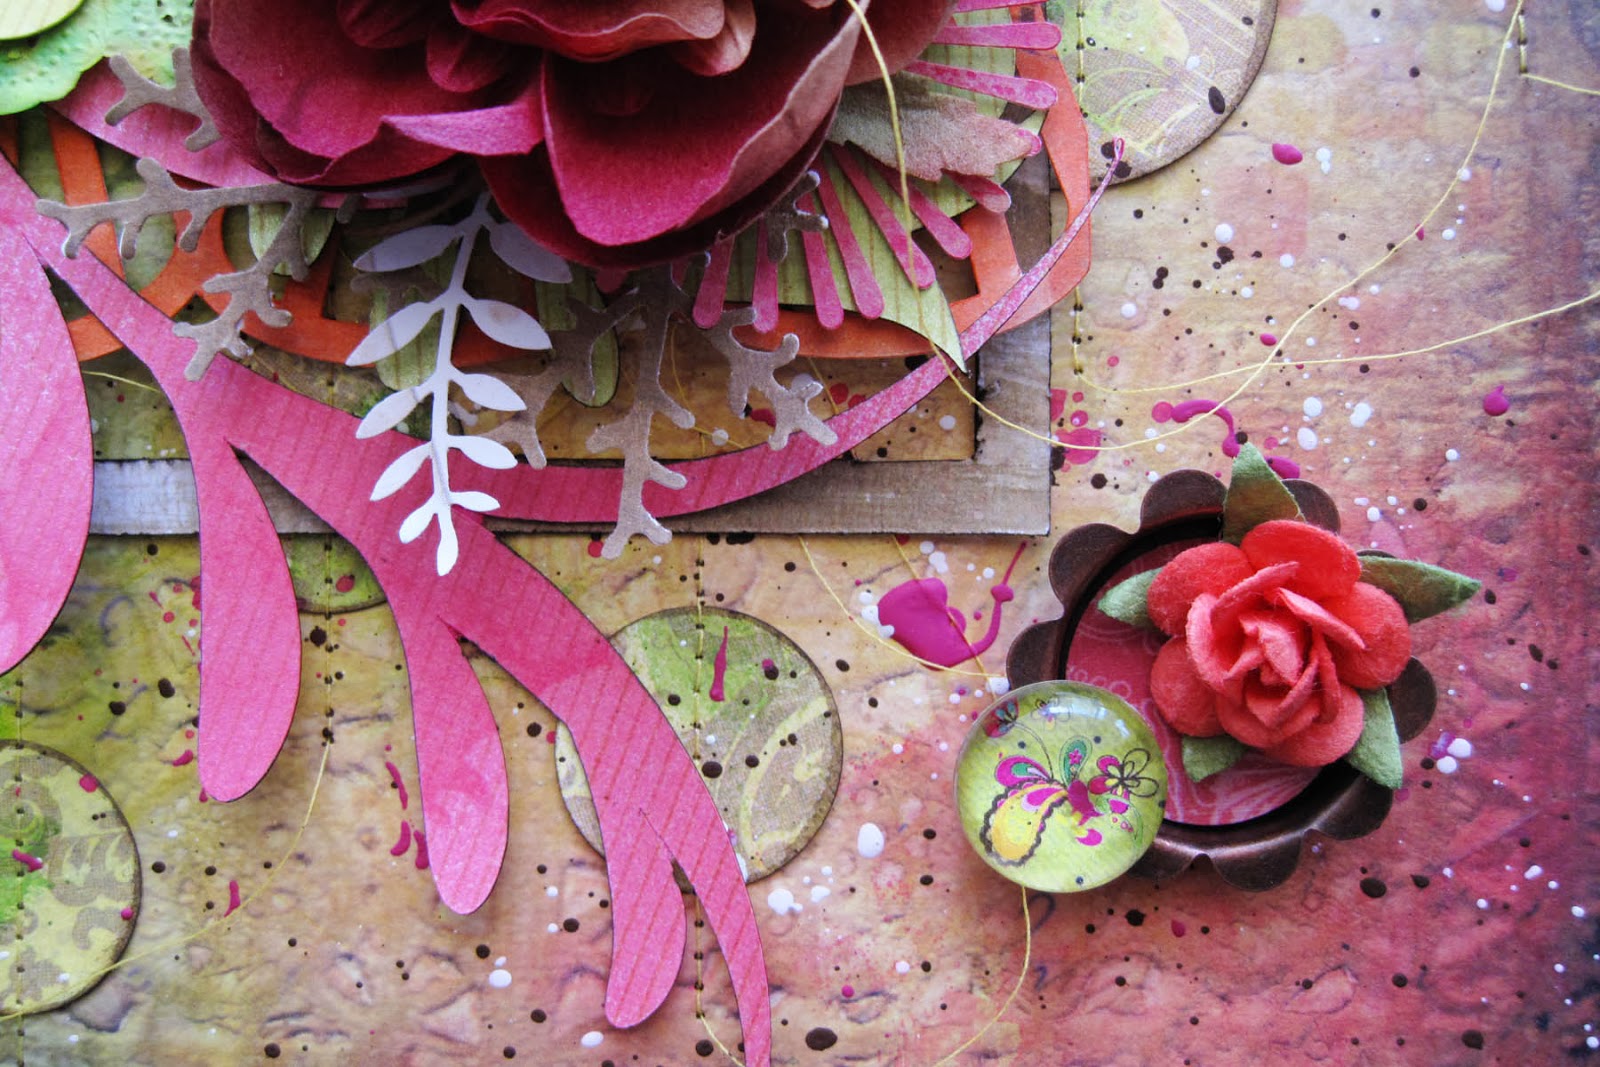
For the colour challenges at ScrapFriends, there is the ability to do art journal pages, cards, digital layouts, off-the-page projects, canvases as well as layouts for submission. This month, I decided to do a canvas (8"x8"). It was my first one and really fun to do, so think I'll be doing more in the future...
In a few weeks time, I'll show a step-by-step on how I made it.
In the meantime, please join us in this challenge. For loads of inspiration, see what the Guest Designers and Design Team have done HERE.
Thank you for coming by.
Saturday, 15 February 2014
Wednesday, 12 February 2014
A little gift idea...
Hi all!
Earlier in the week, this quick little tutorial was posted on the ScrapFriends blog, so thought I'd share it here also....
Recently my girls went to a birthday party of some good friends and I wanted to give something a little different, so I decided to make their presents.
My idea stems from a quilt designed by Gillian Grimmett in the Australian Homespun magazine issue no.101 which features the Japanese Kokeshi doll.
This is what I made:
3. Paint the faces on. I used texta and pencil.
4. Using mist of choice, pump a few sprays onto the background cardstock (I used watercolour paper), then stamp using a background stamp before adding a Silhouette die-cut piece. Once done, add the bits to make the paper doll.
When finished, I placed in a frame.
A few notes:
Earlier in the week, this quick little tutorial was posted on the ScrapFriends blog, so thought I'd share it here also....
Recently my girls went to a birthday party of some good friends and I wanted to give something a little different, so I decided to make their presents.
My idea stems from a quilt designed by Gillian Grimmett in the Australian Homespun magazine issue no.101 which features the Japanese Kokeshi doll.
This is what I made:
And my steps to make it:
1. Choose a simple design. Draw it yourself, or if you search online, I'm sure there are many simple pictures to find. I then traced and cut each section out of template plastic. I only did this because I thought I may want to make more in the future. Alternatively, you can either draw on cardboard and cut out, or on copy paper and paste onto card then cut, or just draw free-hand straight onto the paper.
2. Using the template, cut out and prepare papers for each section.
4. Using mist of choice, pump a few sprays onto the background cardstock (I used watercolour paper), then stamp using a background stamp before adding a Silhouette die-cut piece. Once done, add the bits to make the paper doll.
When finished, I placed in a frame.
A few notes:
- my frame was 11 x 14"/28 x 35.5cm
- the pinwheel was cut on my Silhouette and is 3"/7.5cm across.
- the actual doll is around 9.5"/24cm tall
Wednesday, 5 February 2014
Prima PPP - Guest Designer
Hello everyone!
The Prima PPPP has just been released and it is so soft and pretty.
My version:
Apart from some vellum and book paper, all paper, flowers, embellishments are Prima. I was inspired by the hot-air balloon on the background paper. I love the shape of them (not sure I'm brave enough to go up on one though).
And some close-ups:
Thank you Prima for having me! Be sure to check out the challenge HERE, you have until the end of February.
Thank you all for coming by and any comments you may leave.
The Prima PPPP has just been released and it is so soft and pretty.
My version:
Apart from some vellum and book paper, all paper, flowers, embellishments are Prima. I was inspired by the hot-air balloon on the background paper. I love the shape of them (not sure I'm brave enough to go up on one though).
And some close-ups:
I used a Prima stencil and mixed paint with texture paste and added glitter.
I also added glitter to my clouds. I love a little sparkle.
Thank you Prima for having me! Be sure to check out the challenge HERE, you have until the end of February.
Thank you all for coming by and any comments you may leave.
Tuesday, 4 February 2014
Prima BAP - Guest Designer
Hello everyone,
I am so thrilled to say I am a Guest Designer over at Prima this month. It is such a wonderful honour, I feel very blessed.
The Prima BAP by Lene Bjornerud has just been released and it's inspirational!
Here is the sketch:
And my version:
Everything on the page is, of course, Prima. The paper, flowers, embellishments and alphas. I used mists to colour most of the papers to suit the background piece which was from the 'Sunrise-Sunset' Collection. The other papers I used were from the older collections, 'Annalee' and 'Fairy Rhymes'.
And a few close-ups:
Go HERE to see the sketch and gorgeous work by the Design Team.
Thank you for coming by.
I am so thrilled to say I am a Guest Designer over at Prima this month. It is such a wonderful honour, I feel very blessed.
The Prima BAP by Lene Bjornerud has just been released and it's inspirational!
Here is the sketch:
And my version:
Everything on the page is, of course, Prima. The paper, flowers, embellishments and alphas. I used mists to colour most of the papers to suit the background piece which was from the 'Sunrise-Sunset' Collection. The other papers I used were from the older collections, 'Annalee' and 'Fairy Rhymes'.
And a few close-ups:
Go HERE to see the sketch and gorgeous work by the Design Team.
Thank you for coming by.
Saturday, 1 February 2014
ScrapFriends - Sketch Challenge #22 - DT
Hello everyone.
Today marks the first of the month and therefore a new sketch release at ScrapFriends. I hope you like it. It is the first sketch I have done.
My layout has the most recent photo of my children and myself - taken 2 years ago. I don't have many photos of us together, probably time to ask a friend to take another.
Loving gold at the moment. I dabbed gold paint through a stencil then added the glitter. Same with the heart chipboard. After, I sprayed with hairspray to fix the glitter.
This is a lot simpler in background texture and layers than I would normally do. I was trying to simplify my scrapping due to time constraints at the moment however I didn't really like it, because I like to do more detailed and involved work. So late last night before posting this challenge I added the background splatters digitally. I take photographs of all my layouts to print later on 12x12, so I shall only have the original without enhancement and the children will each have a print of this one in their folders.
Thank you for coming by. Hope you are able to play along this month. Make sure to go HERE to see all the amazing work of the Guest Designers and Design Team.
Today marks the first of the month and therefore a new sketch release at ScrapFriends. I hope you like it. It is the first sketch I have done.
My layout has the most recent photo of my children and myself - taken 2 years ago. I don't have many photos of us together, probably time to ask a friend to take another.
Loving gold at the moment. I dabbed gold paint through a stencil then added the glitter. Same with the heart chipboard. After, I sprayed with hairspray to fix the glitter.
This is a lot simpler in background texture and layers than I would normally do. I was trying to simplify my scrapping due to time constraints at the moment however I didn't really like it, because I like to do more detailed and involved work. So late last night before posting this challenge I added the background splatters digitally. I take photographs of all my layouts to print later on 12x12, so I shall only have the original without enhancement and the children will each have a print of this one in their folders.
Thank you for coming by. Hope you are able to play along this month. Make sure to go HERE to see all the amazing work of the Guest Designers and Design Team.
Subscribe to:
Posts (Atom)